6/24/2021
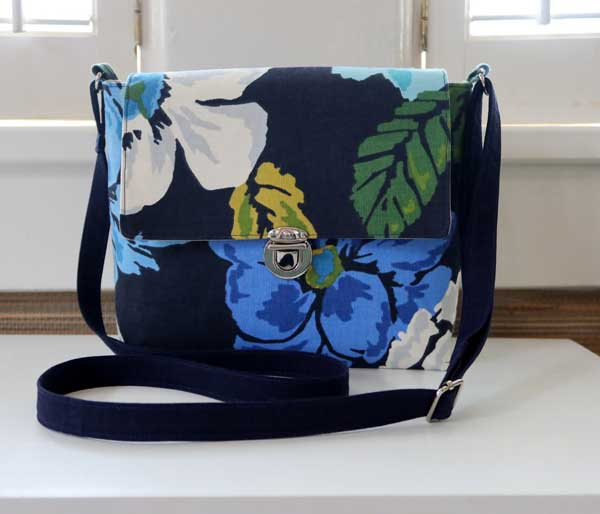
Making your own handbags is a great way to be able to customize your look no matter what the season or occasion!
Janome Maker Trish from Trish Stitched designed a new pattern just for you to start your bag-making journey! This DIY crossbody bag is perfect for those gorgeous large-scale fabrics but can also just a fab as an ophan quilt blocks bag! By using this pattern, it is your bag and your rules!
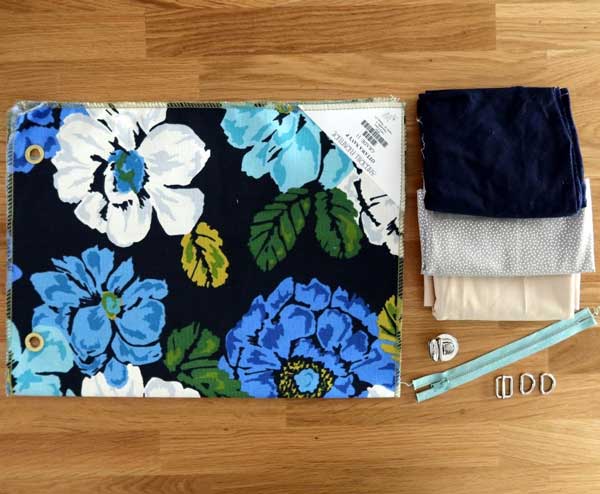
YOU WILL NEED:
- Upholstery or Heavy Weight Cotton (Exterior)
- Quilting Cotton (Lining & Pockets)
- (2x) D-ring (3/4")
- (1x) slide buckle (3/4")
- (1x) Tongue Lock Close (or similar closure)
- (1x) 7” Metal Zipper
Interfacing optional: Apply to the wrong side of the fabric. Lightweight iron-on Interfacing on the lining pieces and heavyweight iron-on interfacing on the exterior pieces. (For heavier weight fabrics, no interfacing needed on straps and strap pieces)
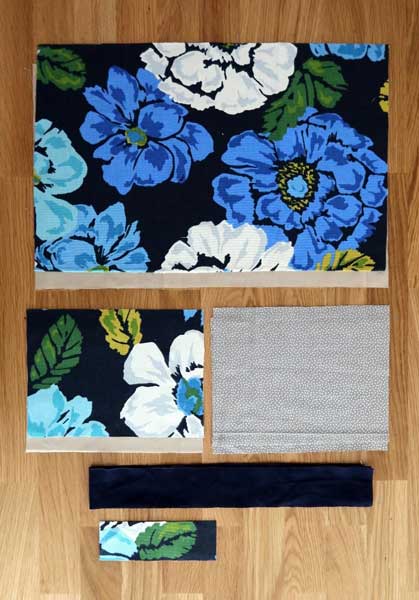
EXTERIOR FABRIC
Cut 1 of each
- Body: 18" x 11.5”
- Flap: 9” x 6.5”
- Strap: 58” x 2”
- Strap Piece: 6” x 2”
LINING FABRIC
Cut 1 of each
- Body: 18" x 11.5”
- Flap: 9” x 6.5”
POCKET FABRIC
Cut 2
- Pockets: 9” x 7”
(Strap Notes: Fabric not long enough? Cut 2 pieces 29" x 2" and sew together)
Seam allowance 3/8" unless otherwise noted.
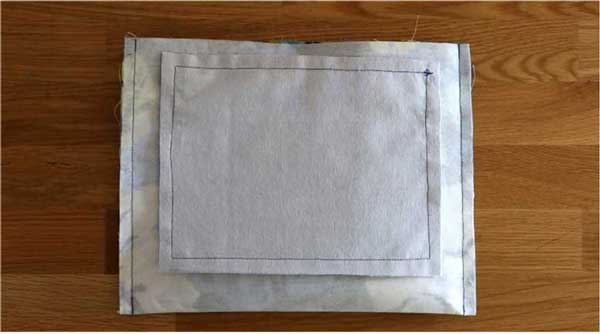
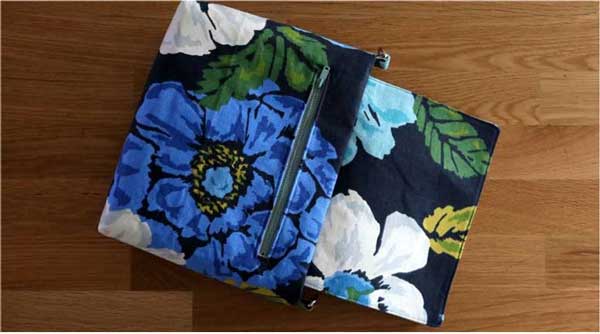
Create Back Zipper Pocket
Sew Bag Body Together
 |
 |
|
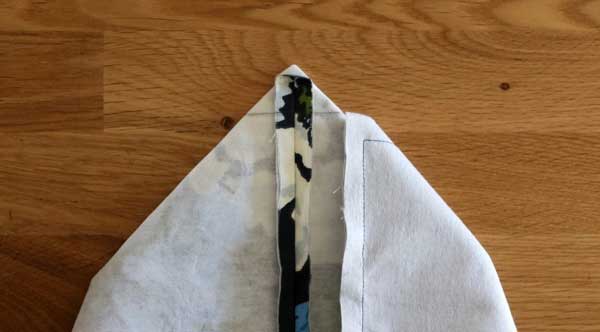
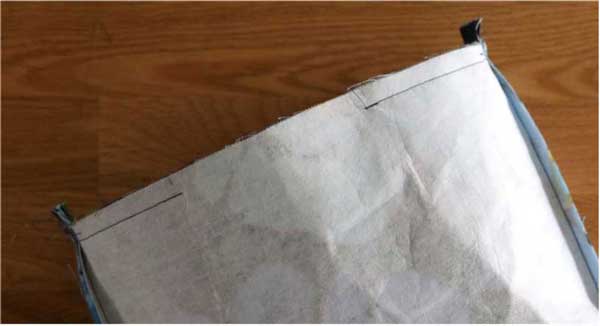
With right sides together, fold front and back of the bag together and sew bag sides. Press side seams open and folds each bag bottom to form a corner. Mark a line 2" long. Sew and trim seamline.
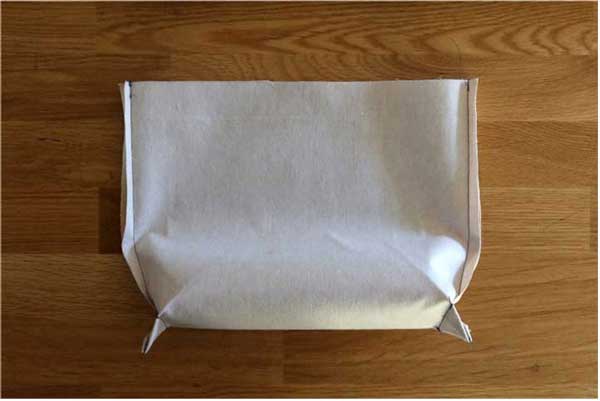
Repeat steps for bag lining pieces.
|
Make Front Flap & Bag Strap
 |
 |
|
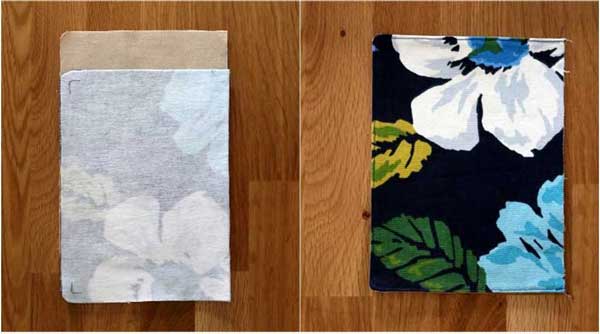
On one long side of flap pieces, curve two corners. Stitch right sides of flap lining and exterior together, leaving the non-curved long end open. (Draw curve for easier stitching). Clip curves and turn right sides out. Press and topstitch flap.
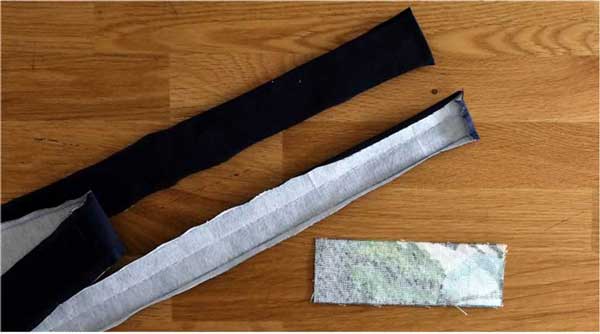
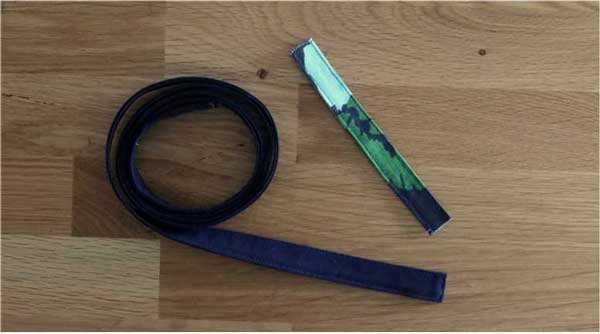
Take the strap and press both long and short edges in ¼”. Fold and press long sides in half.
|
 |
 |
|
Stitch all the way around the strap, and repeat for strap piece.
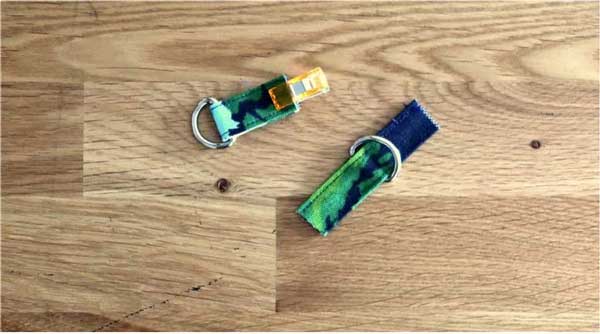
Cut strap piece in half, making two equal strap pieces. Feed each strap piece through a D-ring and clip or pin raw edges together.
|
 |
 |
Finish Bag Body
|
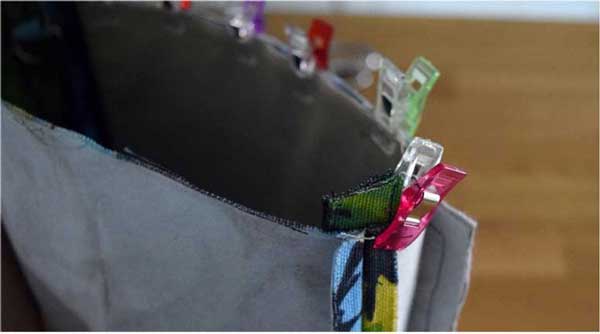
Line up center of strap piece with the side of the bag. (I stitched 1/2" down from the raw edge of strap piece to make my strap piece shorter, but this is up to you!)
Baste bag flap to bag back, right sides together, and side straps to sides of the bag, right sides together.
|
 |
 |
|
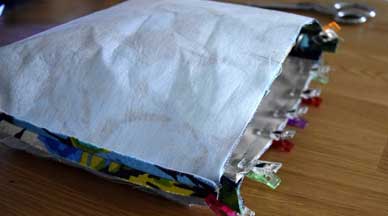
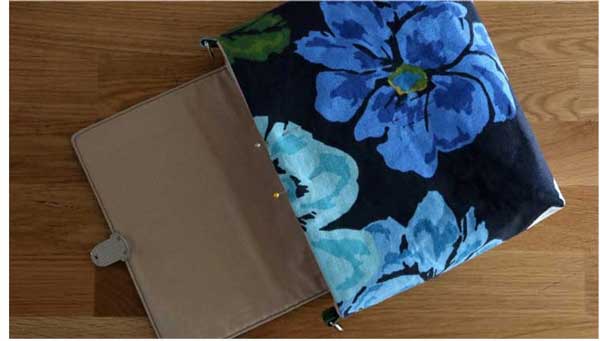
With right sides together, sew bag lining to exterior, matching seams. Leave a 4" gap free in the front of bag.
Turn bag right side out, pushing corners out and pushing lining into the bag. Press.
|
 |
 |
|
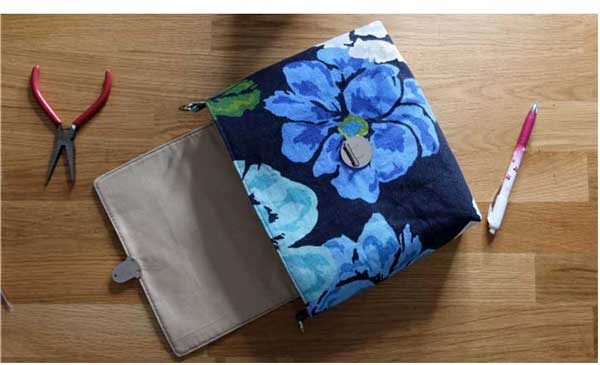
Following hardware instructions, attach tongue lock. On bag front, my tongue lock attached 3 3/4" down from edge. Topstitch bag closed.
TIP: If your strap pieces are thick, hammer them before top stitching to reduce bulk while sewing.
|
 |
 |
|
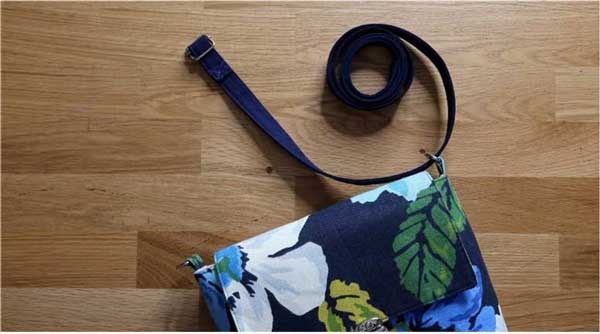
Take finished end of strap and feed through center of slide buckle leaving roughly 1 1/2” free. Stitch down. With wrong side of strap facing up, feed other end of strap through bag D-ring.
Feed the strap through the slide buckle. Continue to feed the strap through the remaining D-ring. Sew end of strap down.
|
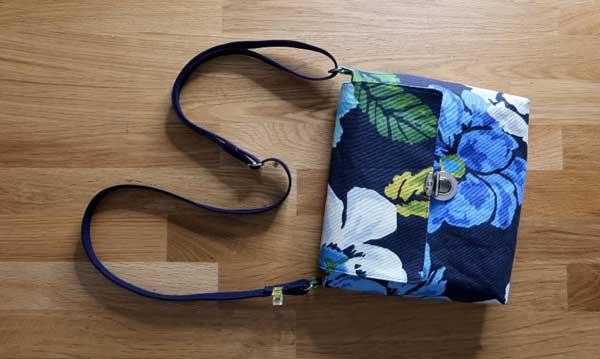
Enjoy Your New Bag!